How To Detect A Shower Floor Leak
Any home developer will tell you that shower leaks are inevitable in the long run. At which point, you would require the help of a waterproofing
contractor in order to stop the leakage and repair any deteriorated components. However, before getting to that point, there are early signs for you to observe for and to take proactive action upon.One such early sign is a malfunctioning shower diverter valve. This valve allows you to switch the water flow from the showerhead to the bathtub faucet.
Why is your shower floor leaking
Wear and tear
Over time and in cases where the shower is often used, tear and wear begin to show in the grout and caulk which do deteriorate. Grout ought to be resealed every couple of years to maintain the integrity of the shower. Where products break down, mold inevitably starts to grow and penetrates the mortar bed where it thrives in an area where both water and organic material are bountiful (the 2 points mold requires to grow). When the home owner heads to clean the shower flooring, most of the times they can not push out the mold or if it vanishes, it returns rapidly as the origin can never be reached. This resembles plucking weeds and just getting the top and not the origins– the issue expands right back.
Efflorescence
If the weep holes to the secondary drainpipe are blocked (typically from improper instalment), one more concern called efflorescence can happen. It gathers if water can notdrain pipes via the mortar bed. As it attempts to vaporize, the water leaves behind mineral deposits on the grout lines that look like stalagmites or mini mountains and are crystalline in nature. Read more; Here’s how to choose a reliable heating & cooling system company like amana ptac This is largely a cosmetic problem however suggests inappropriate building and construction and can lead to the slow destruction of the mortar bed.
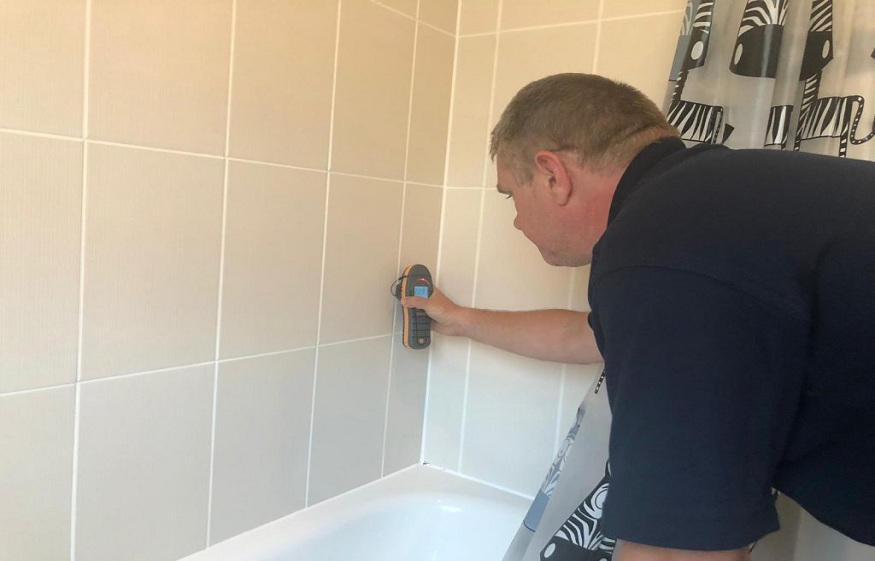
Testing for floor leakages
Tidy the shower tiles and allow dry entirely. Use a good-quality duct tape to blanket the drain. I prefer to cover the drainpipe and at the very least 6 inches on all sides. Now, making use of a distinct water origin such as a pipe or one more restroom, fill pails with water. Use this water to fill the shower until the water reaches the amount of the limit. What will this test inform you? You are taking the water from another cause to figure out that the leak is not from the pipes in this shower. After the shower flooring is loaded with water, you must allow it rest. Depending on which floor this shower is located, you may see water or water marks on a ceiling, or when you search in the basement or crawl area. The idea is to make use of the trial and error and keep trying to find any evidence of a leakage each step of the way.